Is Seeing the Northern Lights Really That Magical?
Yes. And no.
Yes, because witnessing those glowing green (and sometimes pink or purple) ribbons dance across the Arctic sky is an unforgettable experience. But also no, because chasing the Aurora is exactly that – a chase.
You’ll need patience, luck, and layers upon layers of warm clothes. But trust us, when the sky lights up, every frozen toe is worth it.
So, how do you maximize your chances? Let’s break it all down – whether you’re joining a guided tour or braving the Arctic on your own.
Why Norway?
So, why Norway for this magical experience? Well, Norway’s location above the Arctic Circle means it has some of the best spots on Earth for seeing the Northern Lights.
The country is blessed with clear skies, minimal light pollution, and plenty of remote spots where the auroras shine in all their glory. Not to mention, Norway’s dramatic landscapes – think snow-capped mountains, fjords, and remote villages – only add to the otherworldly experience.
You don’t just see the Aurora Lights in Norway; you immerse yourself in nature at its finest.
When and Where to See the Northern Lights in Norway?
The best time to see the Northern Lights in Norway? September to March. The best place? Anywhere above the Arctic Circle.
- Tromso – The “Gateway to the Arctic” and one of the most popular spots for Northern Lights hunting.
- Alta – Fewer tourists, same stunning skies.
- Lofoten Islands – A double treat: auroras plus jaw-dropping landscapes.
- Senja – A hidden gem for quieter, more intimate viewings.
The key here is escaping city lights. The farther away from artificial light pollution, the better. But don’t worry – Norway’s far north is filled with pristine dark spots, so you won’t have to drive too far to find the perfect aurora-viewing location.
The Essential Gear for Aurora Chasing
Here’s a little addition to help you prepare properly! Seeing the Northern Lights involves spending time outdoors in freezing temperatures, often in the dark. So, packing the right gear is key.
Clothing Essentials:
- Thermal layers: Layering is crucial to staying warm. Start with thermal base layers, and then pile on the insulation.
- Waterproof boots: Snow and slush can make your feet wet, so waterproof, insulated boots are a must.
- Hat & Gloves: A warm, insulated hat and thick gloves to prevent frostbite, especially for your hands and head. Look for ones that are touchscreen-friendly for photos!
- Wool socks: These help trap heat and keep your feet dry.
- Sunglasses: While it’s cold, the sun does show up sometimes during the day, and you might need some protection, especially if you’re heading to snowy regions.
Photography Gear: If you’re going for that Instagram-perfect shot, here’s some extra camera gear to consider:
- Tripod: Necessary for those long-exposure shots.
- Wide-angle lens: To capture the vast sky in its full glory. A lens with an f-stop of f/2.8 or lower is ideal for low-light conditions.
- Spare batteries: Cold weather drains batteries quickly, so carry extras.
Two Ways to Chase the Northern Lights: Tour vs. DIY
Going Solo: The DIY Approach
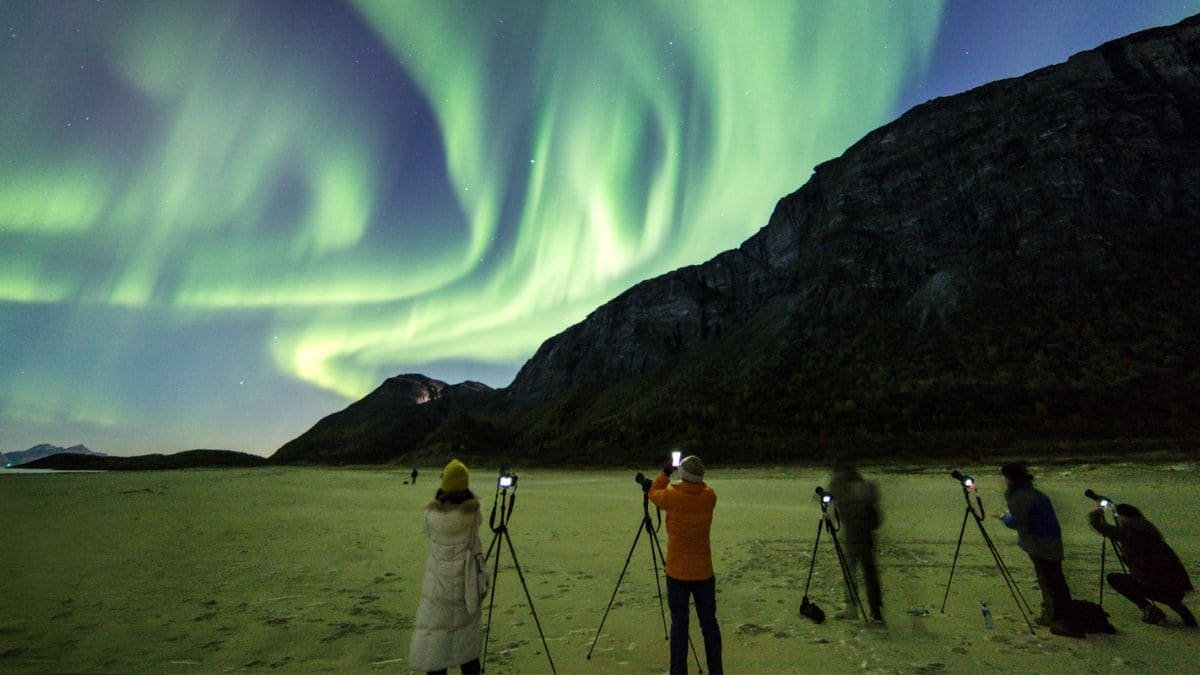
There’s something special about chasing the Boreal Lights on your own. It’s an adventure that’s all yours – no guide, no schedule, just you and the Arctic sky.
But before you grab your gear and head off into the dark, here are a few tips to make your DIY experience a success:
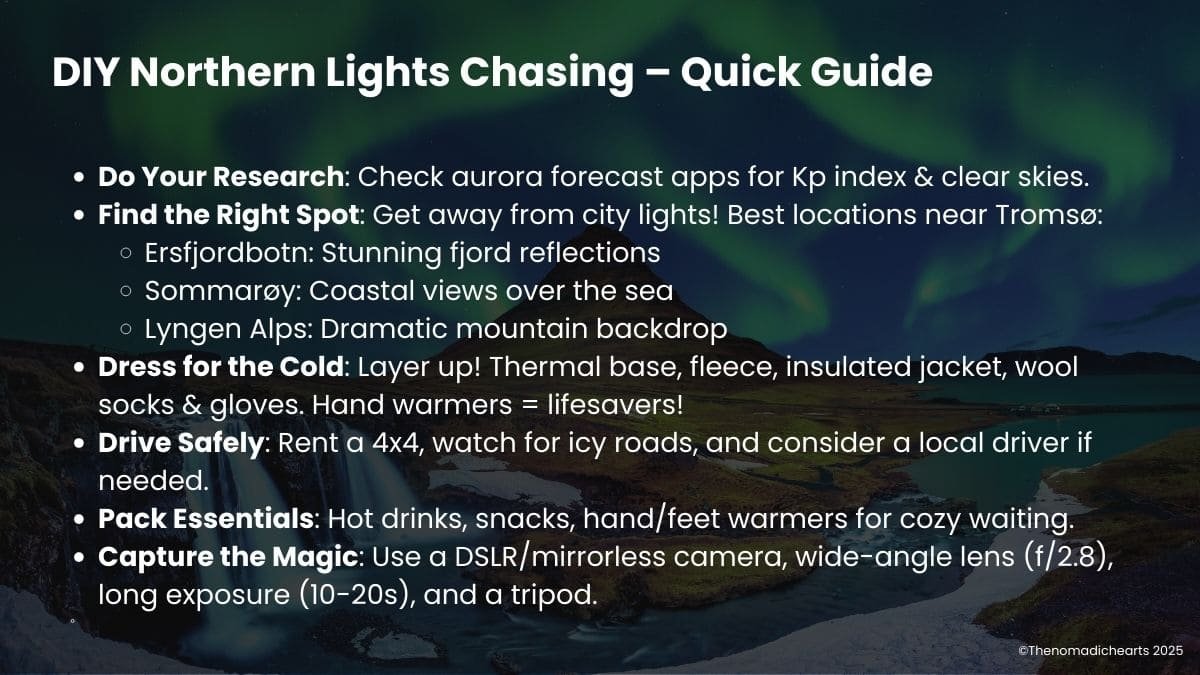
- Do Your Research: Check your aurora forecast apps (we’ll dive into that below) to pick the right night and location. You’ll want to monitor the Kp index, which shows solar activity, and check for clear skies. Being able to read the forecast is essential to optimizing your chances.
- Pick the Right Location: Escape city lights! You’ll need to find a spot well above the Arctic Circle, where artificial lights won’t interfere with your view.
Tromso is a perfect base for Northern Lights chasing, but if you want to get even further away from the light pollution, here are a few great spots around Tromso:
- Ersfjordbotn (30 minutes from Tromso): This little village has dark skies and stunning views. The fjord provides a perfect reflective surface for the aurora if you’re lucky.
- Sommarøy: Just an hour from Tromso, this coastal town offers spectacular views of the Northern Lights dancing over the sea, framed by dramatic cliffs and beaches.
- Lyngen Alps: For those seeking an epic backdrop, the Lyngen Alps offer rugged mountains that provide a jaw-dropping view if the aurora plays along.
- The key is to get far from the light pollution of the city – so the farther you can get from artificial lights, the better.
- Be Prepared for the Cold: Northern Norway in the winter can be brutal, so layering up is essential. We always started with a thermal base layer, followed by a cozy fleece sweater, and topped it off with a well-insulated jacket to keep the chill at bay.
For our feet, we opted for merino wool ski socks, and for extra warmth, we doubled up with a second pair of wool socks. Insulated ski gloves with touchscreen capability were a game changer – no need to take them off every time we wanted to snap a picture.
To stay extra warm during those long hours outside, we packed hand warmers, which we tucked into our gloves and boots.
- Drive Safely: If you’re venturing out on your own, be sure to rent a reliable 4×4 vehicle. The roads can be icy and paths may be frozen, so you’ll need to drive with caution.
The weather can change quickly, and you’ll want to make sure your car can handle the conditions. If you’re not used to driving in snow and ice, consider hiring a local driver who knows the terrain.
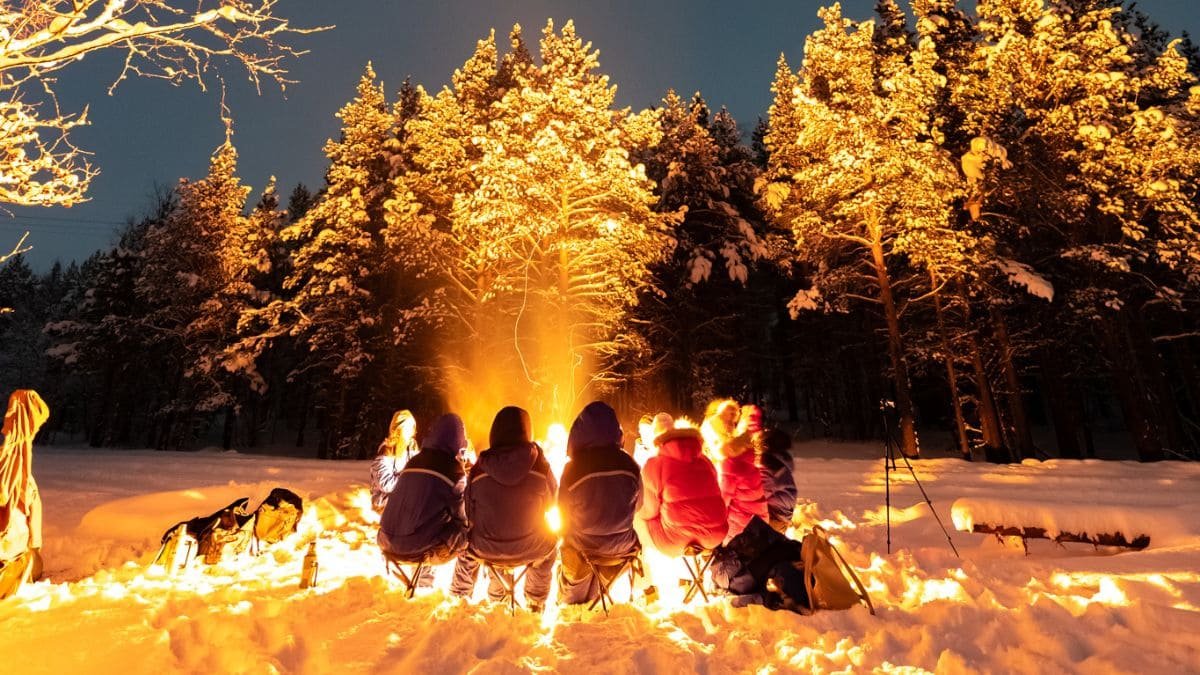
- Bring the Essentials: This isn’t just about the chase – it’s about staying comfortable in the cold! Pack hot drinks, food, and hand/feet warmers to keep cozy while you wait.
You’ll want something warm to sip on as you enjoy the view, and having some snacks to fuel up won’t hurt. Plus, those hand and feet warmers can be a lifesaver when temperatures drop below freezing.
- Bring a Good Camera: If you’re into photography, capturing the borealis aurora is part of the magic. But, keep in mind that taking a great shot requires proper settings. A DSLR or mirrorless camera with manual controls is essential.
You’ll need to adjust your exposure (10-20 seconds), set a low ISO (400-800), and use a wide-angle lens (f/2.8 or lower). Don’t forget a sturdy tripod to avoid blurry shots. If you’re not a pro photographer, you might want to focus on enjoying the moment and let someone else handle the technical side.
(For more info on perfecting your photos, we’ll go over the best camera settings later in the blog!)
Guided Tours: Let the Experts Lead the Way
If you prefer a more relaxed experience where you can sit back, enjoy the show, and leave the worrying to someone else, a guided Northern Lights tour is the way to go. But not all Aurora Borealis tours are created equal, so here’s what to look for when booking:
- Photographer Tours: If you want to get some amazing shots but don’t want to worry about camera settings and missing out on the experience, look for tours that include a professional photographer.
These tours will help you capture the perfect shots while allowing you to fully enjoy the beauty of the auroras without fiddling with your camera. The photographer will take care of your settings, so you just have to focus on being in the moment!
- Small Group or Private Tours: We recommend choosing a smaller group tour or even a private experience. Why? First, smaller groups give you more personal attention, and you won’t be jostling with a large crowd to get the perfect viewing spot.
Second, many guides are local experts who know the best spots for aurora viewing, including hidden gems that aren’t listed in tourist guides.
- Expert Guides: A knowledgeable guide can make all the difference. They know the weather patterns, the best viewing locations, and how to track the auroras. Some guides also provide extra perks, like warm drinks or traditional snacks to keep you cozy during the wait.
Plus, they can offer insights into the science and history of the auroras – turning your adventure into a learning experience!
- Flexible Itinerary: The Northern Lights don’t always show up on time (or at all), so a flexible itinerary is crucial. A good tour will monitor the aurora forecasts, weather conditions, and local skies in real-time and adjust the schedule to give you the best chances of catching the show.
After your guided tour, if you’re eager to dive deeper into the magic of Tromso and beyond, there are plenty of unique experiences to explore. For an unforgettable adventure, consider booking tours like reindeer feeding, visiting huskies, or snowmobiling – authentic activities you can only find in Norway.
If you’re planning to spend more time in Tromso, check out our 2-Day Itinerary in Tromso for more travel ideas and recommendations to make the most of your trip. These experiences will add an extra layer to your Arctic journey and ensure you enjoy Tromso at its best!
The Science Behind the Magic (a.k.a. How to Read Aurora Forecasts)
Understanding the Aurora Borealis forecast: Key Terms You Need to Know
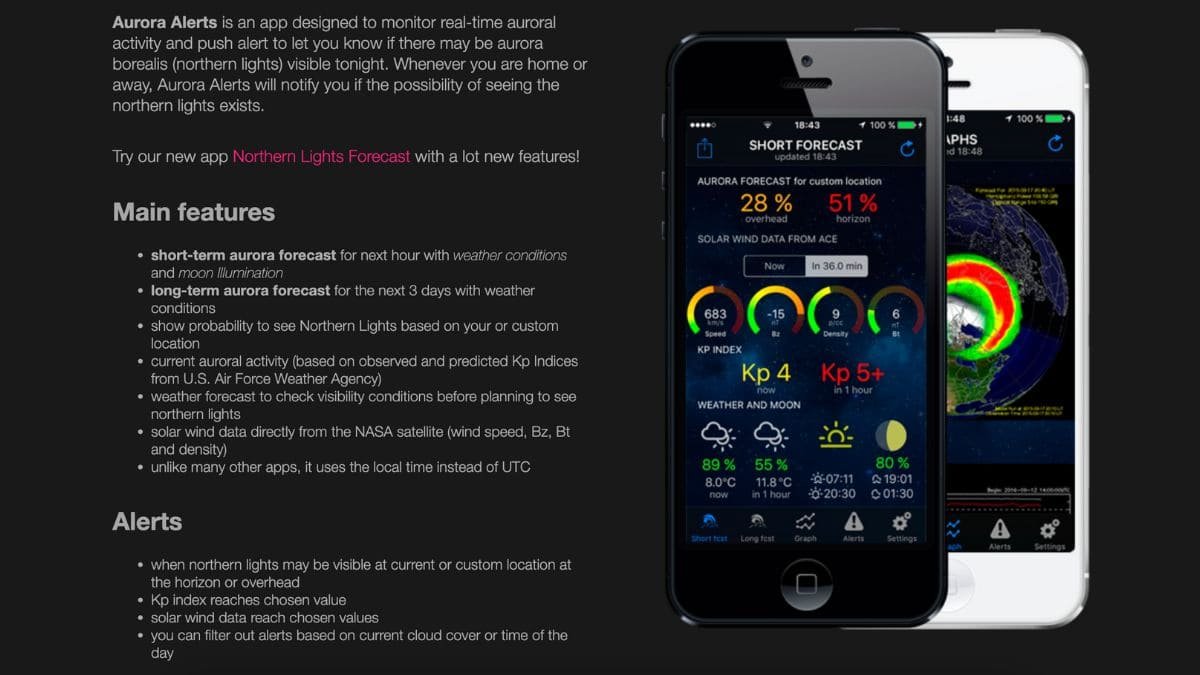
Aurora chasing is a blend of excitement and uncertainty. To increase your chances of seeing the Norwegian aurora borealis, it’s important to understand the different forecasts and their meaning. The Aurora predictions are often available in apps like My Aurora Forecast and Aurora Alerts, and they give you a sense of when and where the auroras might appear.
Here’s a breakdown of what you might see in your app:
Kp Index: The Magic Number
The Kp Index is a scale that measures geomagnetic activity, with higher numbers indicating stronger auroras. The higher the Kp index, the more likely you are to see the Northern Lights. Here’s what each Kp range means:
- Kp 0-2 (Quiet/Inactive to Unsettled): During this range, auroral activity is low. It’s still possible to see the auroras, but they will be faint and only visible in the far northern latitudes. You’ll need to be in a dark location far from artificial lights to catch a glimpse.
- Kp 3-4 (Unsettled to Active): This is the sweet spot for aurora chasing. The auroras become more visible and intense, especially in remote areas with little light pollution. Expect some vibrant displays, and be ready to see them if you’re at the right location.
- Kp 5+ (Active, Minor Storm to Extreme Storm): This is when the auroras are at their most dramatic, and they can be visible much further south than usual. This is the jackpot – high auroral activity and the potential for colorful displays across the sky.
Cloud Coverage: A Hidden Factor
Clouds can be your best friend – or your worst enemy – when it comes to seeing the Northern Lights. Even if the aurora forecast is active, thick clouds will block your view. Be sure to check the cloud coverage forecast in your aurora borealis tracker before heading out.
- Clear Skies: Perfect for aurora chasing. If the forecast says clear skies, you’re in the best position to see the lights.
- Partly Cloudy: There might be some cloud cover, but you can still catch glimpses of the auroras if the clouds break.
- Cloudy: Thick clouds are a no-go for Northern Lights hunting. Even if the aurora forecast is good, you may not see anything if the skies are fully covered.
Aurora Terms to Remember:
- Solar Wind: The stream of charged particles from the sun that causes auroral displays.
- Coronal Mass Ejection (CME): A burst of solar wind that causes a spike in auroral activity.
- Auroral Oval: The area around the magnetic pole where auroras are most commonly seen.
Putting It All Together: To maximize your chances of seeing the Northern Lights, you want the following conditions:
- High Kp Index (3 or above)
- Active or Unsettled aurora conditions (rather than inactive)
- Clear skies (or at least partly cloudy)
- Dark, remote location away from city lights
By monitoring these factors on your app and being flexible with your plans, you’ll significantly increase your chances of seeing the Northern Lights.
The Best Gear for Photographing the Aurora
Catching the Northern Lights is one thing; capturing them on camera is another. You’ll need the right gear to make sure your photos match the magic in the sky and you get the perfect pictures of Aurora Borealis. Here’s what you need:
- Camera: A DSLR or mirrorless camera with manual settings is essential. Shooting in RAW format will give you the best quality.
- Lens: A wide-angle lens (f/2.8 or lower) is ideal for capturing the vast sky and the lights. A 14mm-24mm lens is perfect for both wide shots and more detailed close-ups.
- Tripod: A sturdy tripod is essential for keeping the camera still during long exposures.
- Remote Shutter Release: A remote shutter or a timer will prevent camera shake when you press the shutter button.
Camera Settings for Northern Lights Photography (2025)
Want to nail that perfect shot? Here are the Aurora camera settings you need:
- ISO: Start at 800-1600. If the auroras are faint, bump it up to 3200, but keep in mind higher ISO settings may result in more noise.
- Shutter Speed: Keep your shutter speed between 5-20 seconds. A shorter exposure (5 seconds) is great for capturing sharp auroras, while a longer exposure (15-20 seconds) will allow more light to hit the sensor but might blur fast-moving auroras.
- Aperture: Set your aperture as wide as possible (f/2.8 or lower) to let in as much light as possible.
- White Balance: Set it to “auto” or “tungsten” to prevent color distortion and keep the auroras looking natural.
Final Tips for Your Northern Lights Adventure
- Be Patient! Some nights, the lights show up in minutes; other nights, you’ll wait for hours.
- Stay Warm. Layers, heat packs, and waterproof boots are lifesavers.
- Check the Moon. A bright full moon can wash out the aurora.
- Have Fun! Whether you see the lights or not, the Arctic adventure is unforgettable.
Is It Worth It?
100%. Even if you don’t catch the most intense aurora, the experience of chasing it – driving through Norway’s epic landscapes, standing under a million stars, and feeling the thrill of the unknown – is magic in itself.
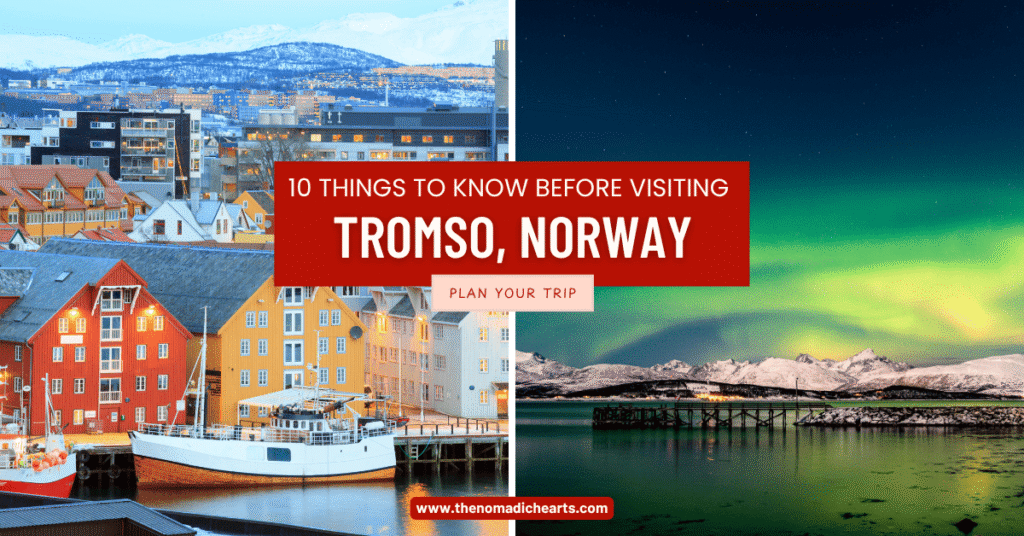
Whether you’re chasing the Northern Lights or exploring the Arctic landscapes, Tromsø offers a wide range of experiences. For a complete adventure, check out our 2-Day Itinerary in Tromsø to plan your trip and uncover hidden gems in the city. Also, don’t forget to read our 10 Things to Know Before Going to Tromsø to make sure you’re fully prepared for your journey!
So, are you ready to chase the lights? Let us know if you have any questions. Happy hunting!